Use Shinken with WebUI
Shinken WebUI
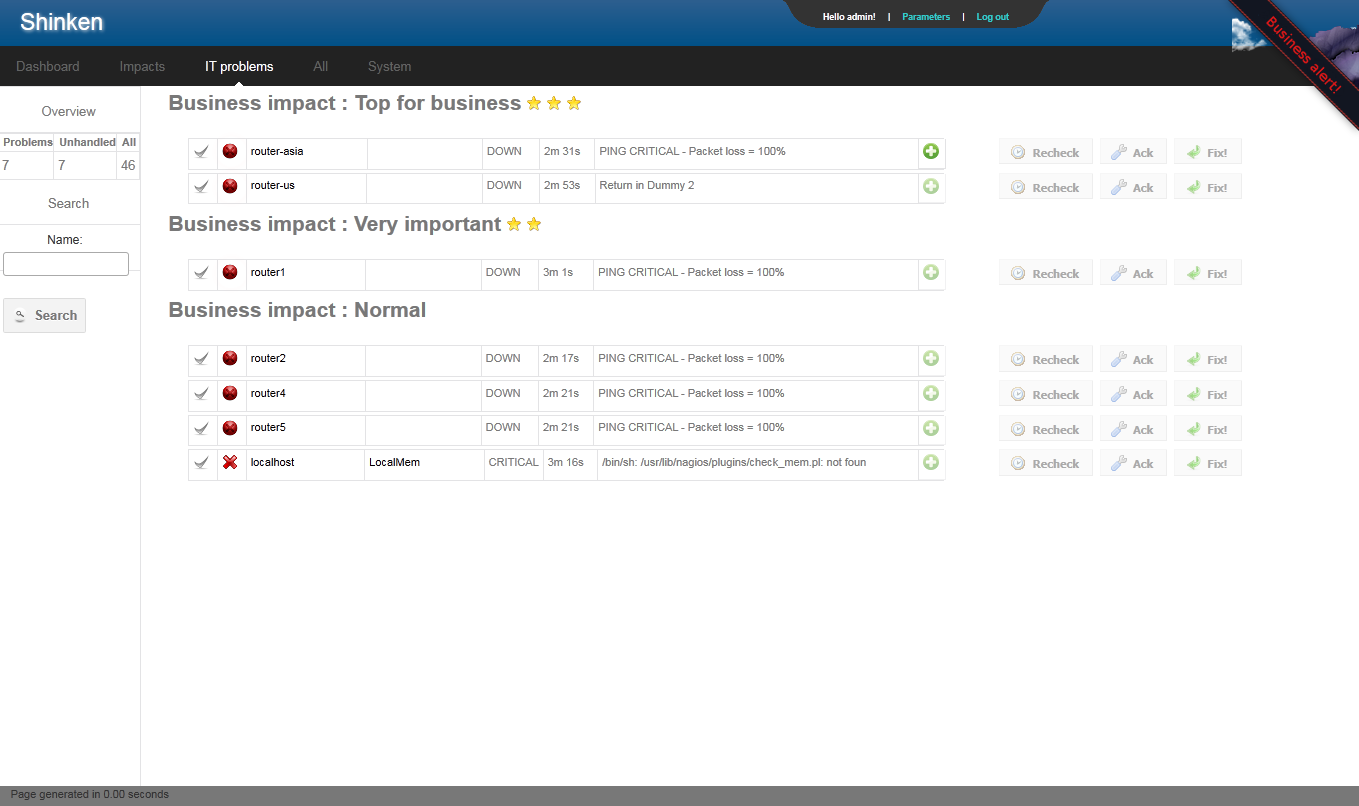
Shinken includes a self sufficient Web User Interface, which includes its own web server (No need to setup Apache or Microsoft IIS) Shinken WebUI is started at the same time Shinken itself does, and is configured using the main Shinken configuration file by setting a few basic parameters.
- Homepage: http://www.shinken-monitoring.org/
- Screenshots: http://www.shinken-monitoring.org/screenshots/
- Description: “Shinken WebUI is the default visualization interface. It’s designed to be simple and focus on root problems analysis and business impacts.”
- License: AGPL v3
- Shinken forum: http://www.shinken-monitoring.org/forum/
Set up the WebUI module
Enable the webui module in ‘’modules/webui.cfg’’ configuration file that is on the server where your Arbiter is installed.
define module{
      module_name      WebUI
      module_type      webui

      host             0.0.0.0       ; mean all interfaces of your broker server
      port             7767

      # CHANGE THIS VALUE or someone may forge your cookies
      auth_secret      TOCHANGE

      # Allow or not the html characters in plugins output
      # WARNING: so far, it can be a security issue
      allow_html_output  0

      # Option welcome message
      #login_text             Welcome to ACME Shinken WebUI.

      #http_backend    auto
      # ; can be also: wsgiref, cherrypy, paste, tornado, twisted
      # ; or gevent. auto means best match in the system.
      modules          Apache_passwd,ActiveDir_UI,Cfg_password,Mongodb

      # Modules available for the WebUI:
      #
      #   Note: Choose one or more authentication methods.
      #
      #   Apache_passwd: use an Apache htpasswd files for auth
      #   ActiveDir_UI: use AD for auth and photo collect
      #   Cfg_password: use passwords in contacts configuration for authentication
      #
      #   PNP_UI: Use PNP graphs in the UI
      #   GRAPHITE_UI: Use graphs from Graphite
      #
      #   Mongodb: Necessary for enabling user preferences in WebUI
}
Important
Have you changed the auth_secret parameter already? No? Do it now!
Note
The web-server handling HTTP Request to the WebUI is a Python process. You do not need any web-server (like Apache) to run the WebUI.
Authentification modules
The WebUI use modules to lookup your user password and allow to authenticate or not.
By default it is using the cfg_password_webui module, which will look into your contact definition for the password parameter.
Tip
You need to declare these modules in the modules property of WebUI.
Shinken contact - cfg_password_webui
The simpliest is to use the users added as Shinken contacts.
define module{
     module_name Cfg_password
     module_type cfg_password_webui
}
Apache htpasswd - passwd_webui
This module uses an Apache passwd file (htpasswd) as authentification backend. All it needs is the full path of the file (from a legacy Nagios CGI installation, for example).
define module{
     module_name      Apache_passwd
     module_type      passwd_webui

     # WARNING: put the full PATH for this value!
     passwd           /etc/shinken/htpasswd.users
}
Check the owner (must be Shinken user) and mode (must be readable) of this file.
If you don’t have such a file you can generate one with the “htpasswd” command (in Debian’s “apache2-utils” package), or from websites like htaccessTools.
Important
To be able to log into the WebUI, users also have to be Shinken contacts! So adding an user in this file without adding it in the contacts will have no effect.
Active Directory / OpenLDAP - ad_webui
This module allows to lookup passwords into both Active Directory or OpenLDAP entries.
define module {
  module_name ActiveDir_UI
  module_type ad_webui
  ldap_uri ldaps://adserver
  username user
  password password
  basedn DC=google,DC=com

  # For mode you can switch between ad (active dir)
  # and openldap
  mode        ad
}
Change “adserver” by your own dc server, and set the “user/password” to an account with read access on the basedn for searching the user entries.
Change “mode” from “ad” to “openldap” to make the module ready to authenticate against an OpenLDAP directory service.
You could also find module sample in the modules directory.
User photos
In the WebUI users can see each others photos.
At this point only the “ad_webui” module allows to import and display photos in the WebUI. There is no configuration: if you add the “ad_webui” module it will import contact photos automatically.
User preferences modules
The WebUI use mongodb to store all user preferences, dashboards and other information.
- To enable user preferences do the following:
- install mongodb
- add “Mongodb” to your WebUI module list as done in the example at the top of this page
Metrology graph modules
You can link the WebUI so it will present graphs from other tools, like PNP4Nagios or Graphite. All you need is to declare such modules (there are already samples in the default configuration) and add them in the WebUI modules definition.
PNP graphs
You can ask for a PNP integration with a pnp_webui module. Here is its definition:
# Use PNP graphs in the WebUI
define module{
    module_name    PNP_UI
    module_type    pnp_webui
    uri            http://YOURSERVERNAME/pnp4nagios/       ; put the real PNP uri here. YOURSERVERNAME must be changed
                                                           ; to the hostname of the PNP server
}
Shinken will automatically replace YOURSERVERNAME with the broker hostname at runtime to try and make it work for you, but you MUST change it to the appropriate value.
Graphite graphs
You can ask for Graphite graphs with the graphite_ui definition.
define module{
    module_name    GRAPHITE_UI
    module_type    graphite_webui
    uri            http://YOURSERVERNAME/ ; put the real GRAPHITE uri here. YOURSERVERNAME must be changed
                                          ; to the hostname of the GRAPHITE server
}
Shinken will automatically replace YOURSERVERNAME with the broker hostname at runtime to try and make it work for you, but you MUST change it to the appropriate value.
Use it!
The next step is very easy: just access the WebUI URI (something like %%http://127.0.0.1:7767/%%) on log in with the user/password set during the previous part! The default username and password is admin/admin